Managing Projects
The All Projects sections allows you to create and manage projects for your DCM Teams Console account.
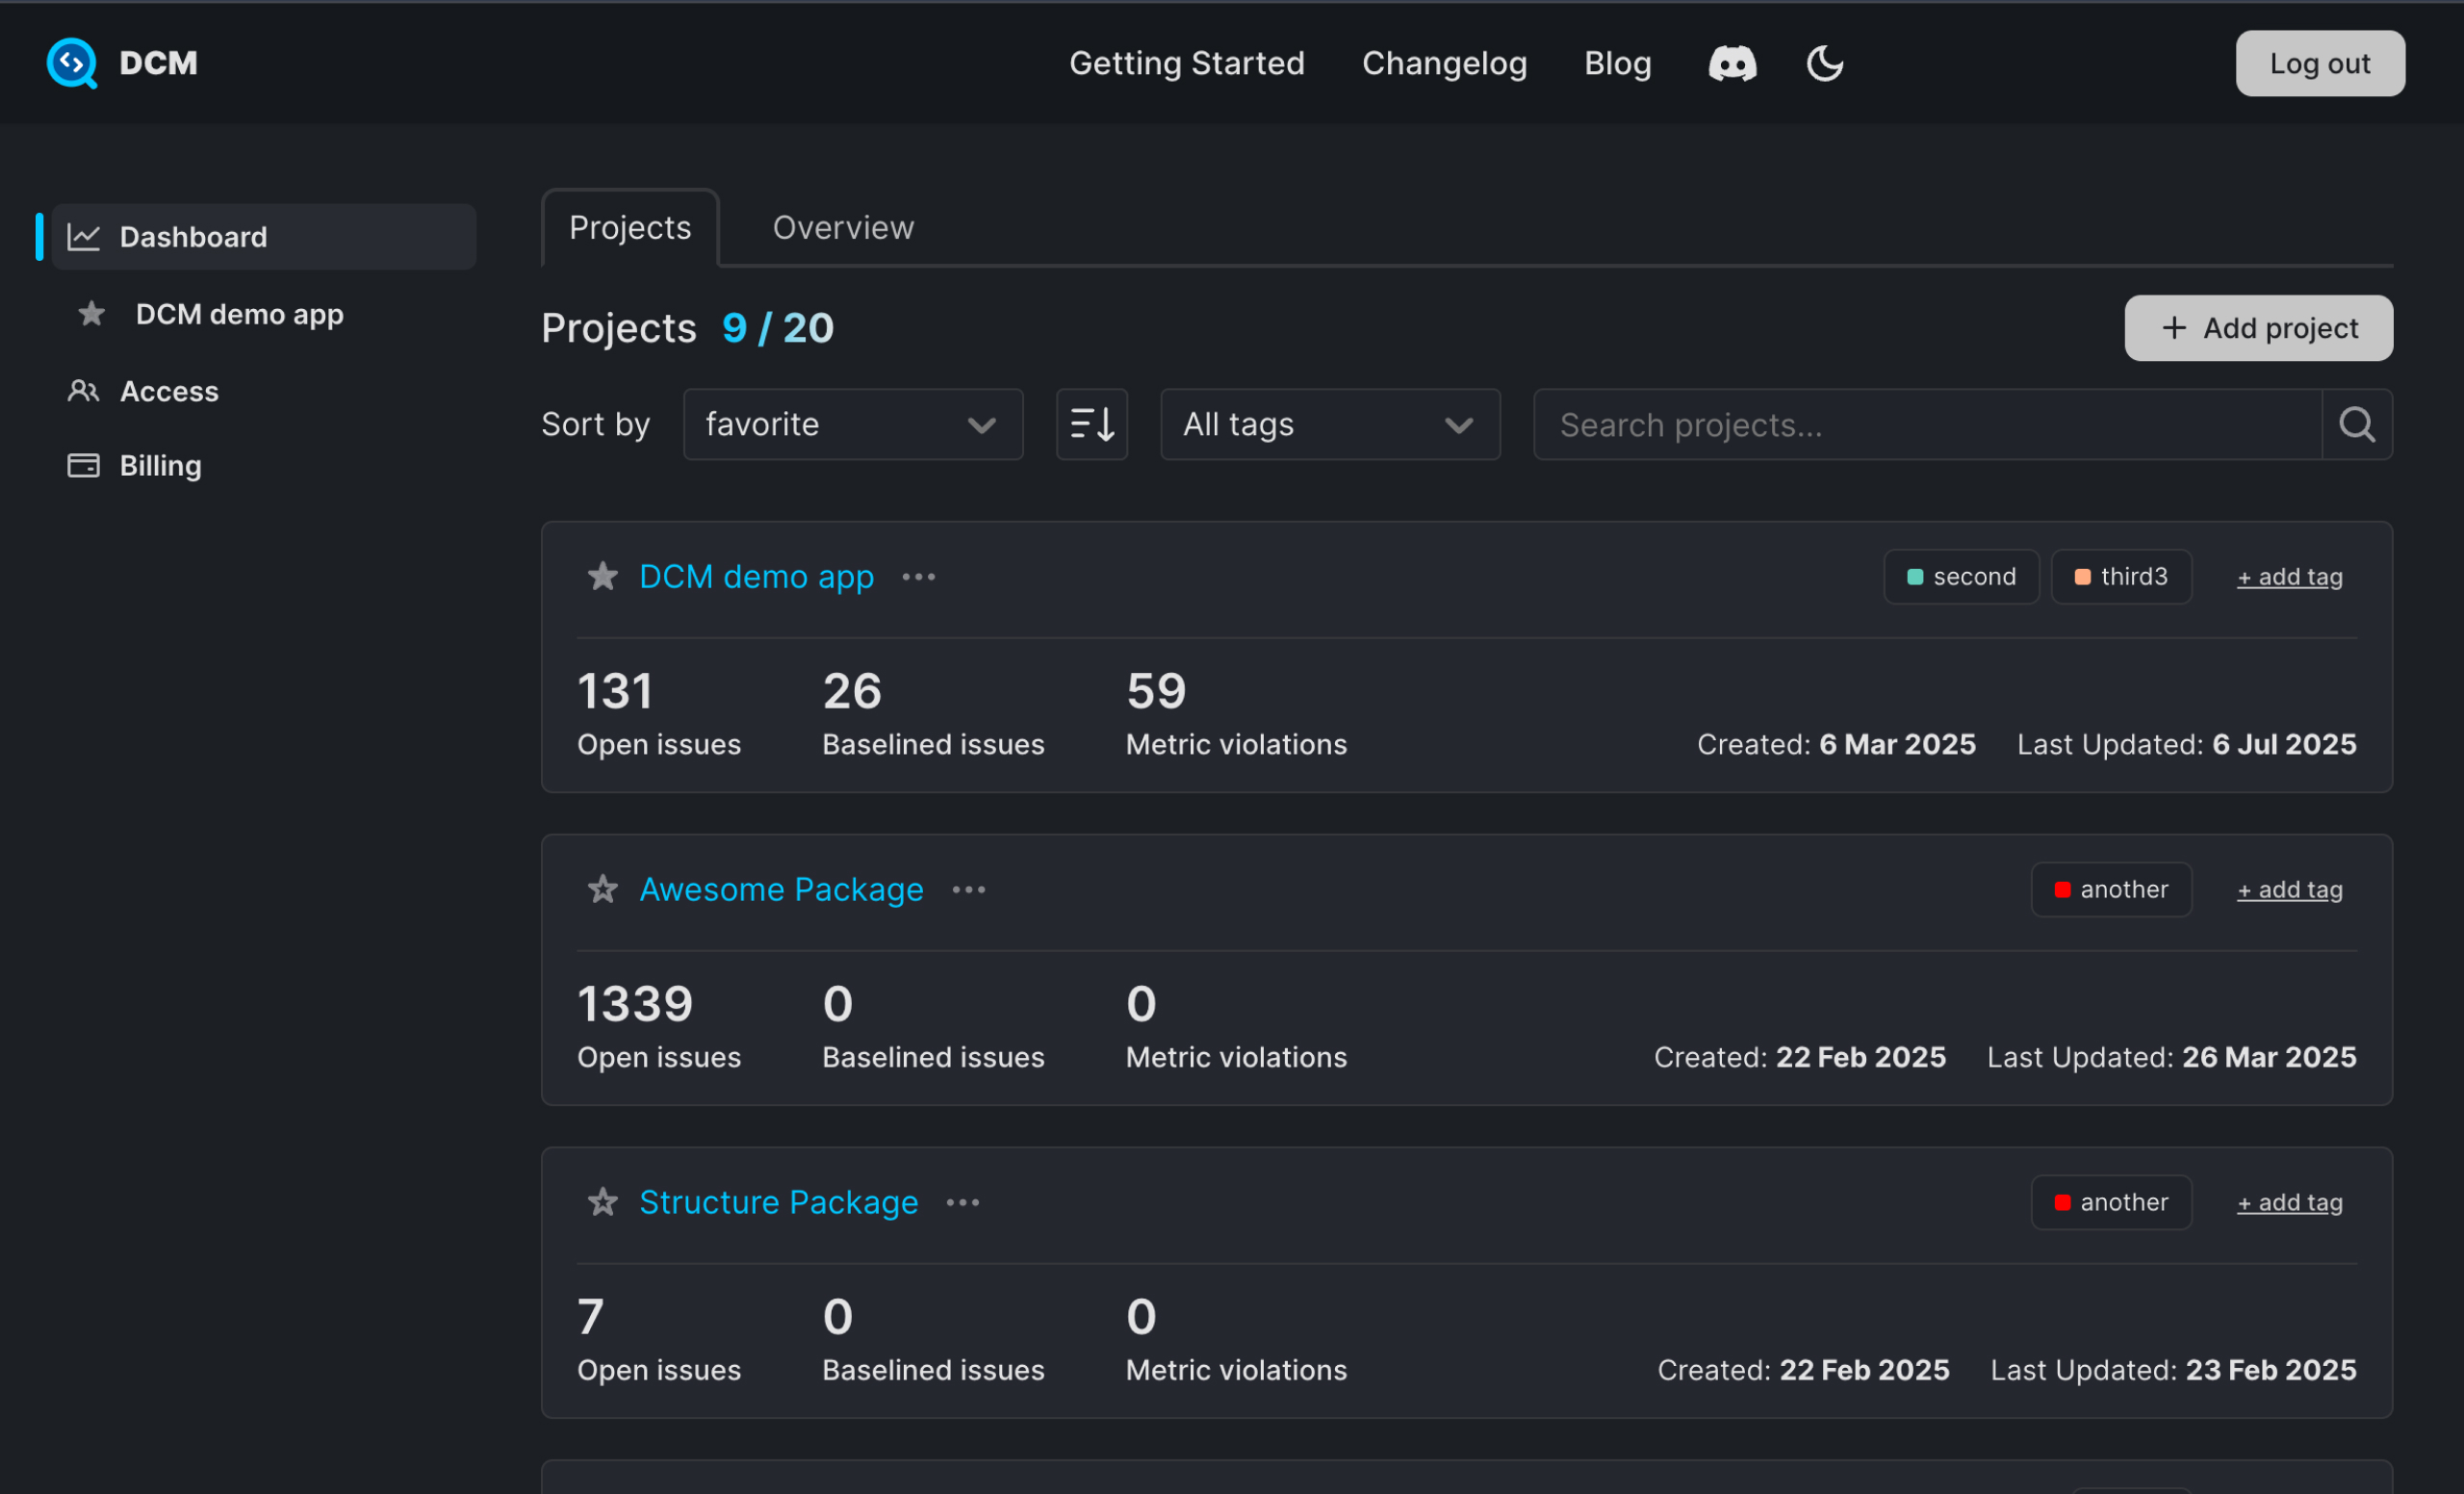
Each row in the project list includes the following:
- Name: Project name (clickable to open the detailed view)
- Issues: Number of the open issues (from lint rules and code quality checks)
- Violations: Number of metrics violations (from code heath metrics)
- Last Updated: Last time data was uploaded to the project
- Created Date: When the project was added to the Dashboards
A project in the Dashboards is expected to represent a single entrypoint from which the tool is being run.
For example, if you run the tool from the root of your repository/package, there needs to be only one project. But if you have multiple packages in your repository and run DCM in each package separately, then you need to create a project for each package.
Additionally, uploading only from a single branch is supported right now, but if you want to upload from multiple branches (e.g. main and feature-branch), consider creating several project in the Dashboards each representing a branch in your repository.
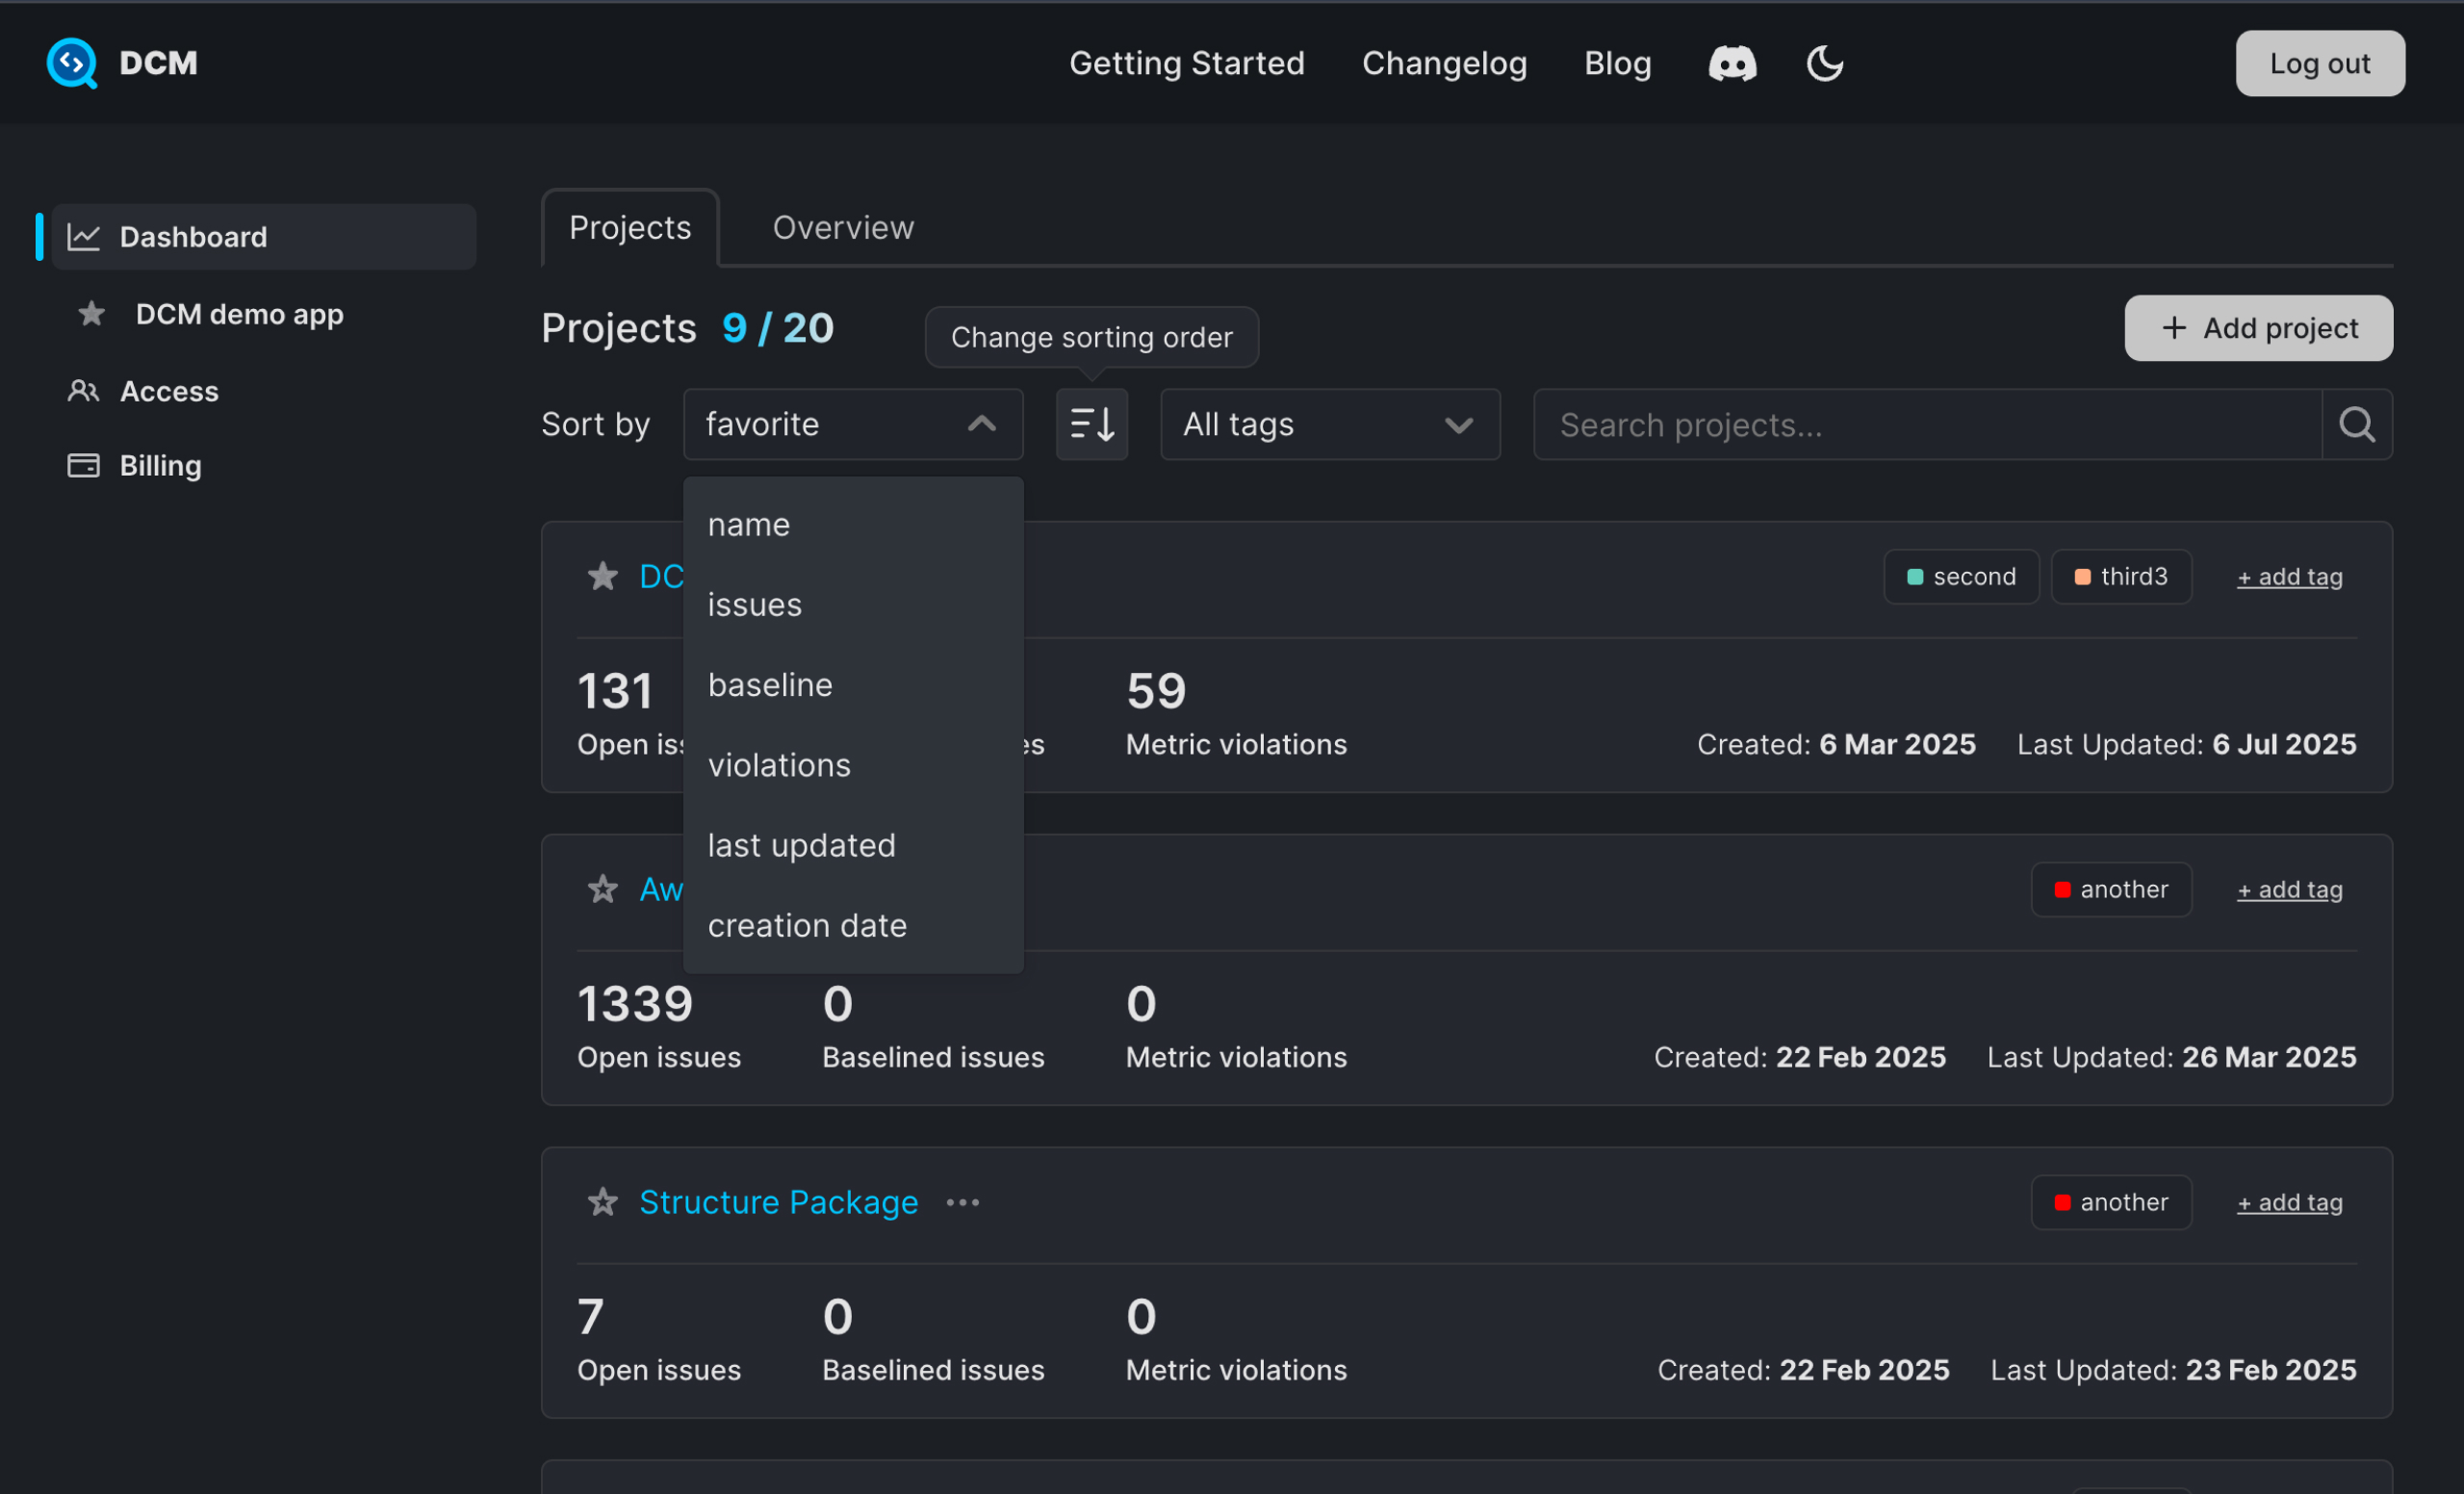
Sorting and Filtering Projects
To help manage many projects, you can:
-
Sort by:
- Name
- Number of issues
- Number of metric violations
- Last updated
- Creation date
-
Change sort order: Click the sort direction icon next to the dropdown.
-
Search: Use the search input to quickly filter by project name.
-
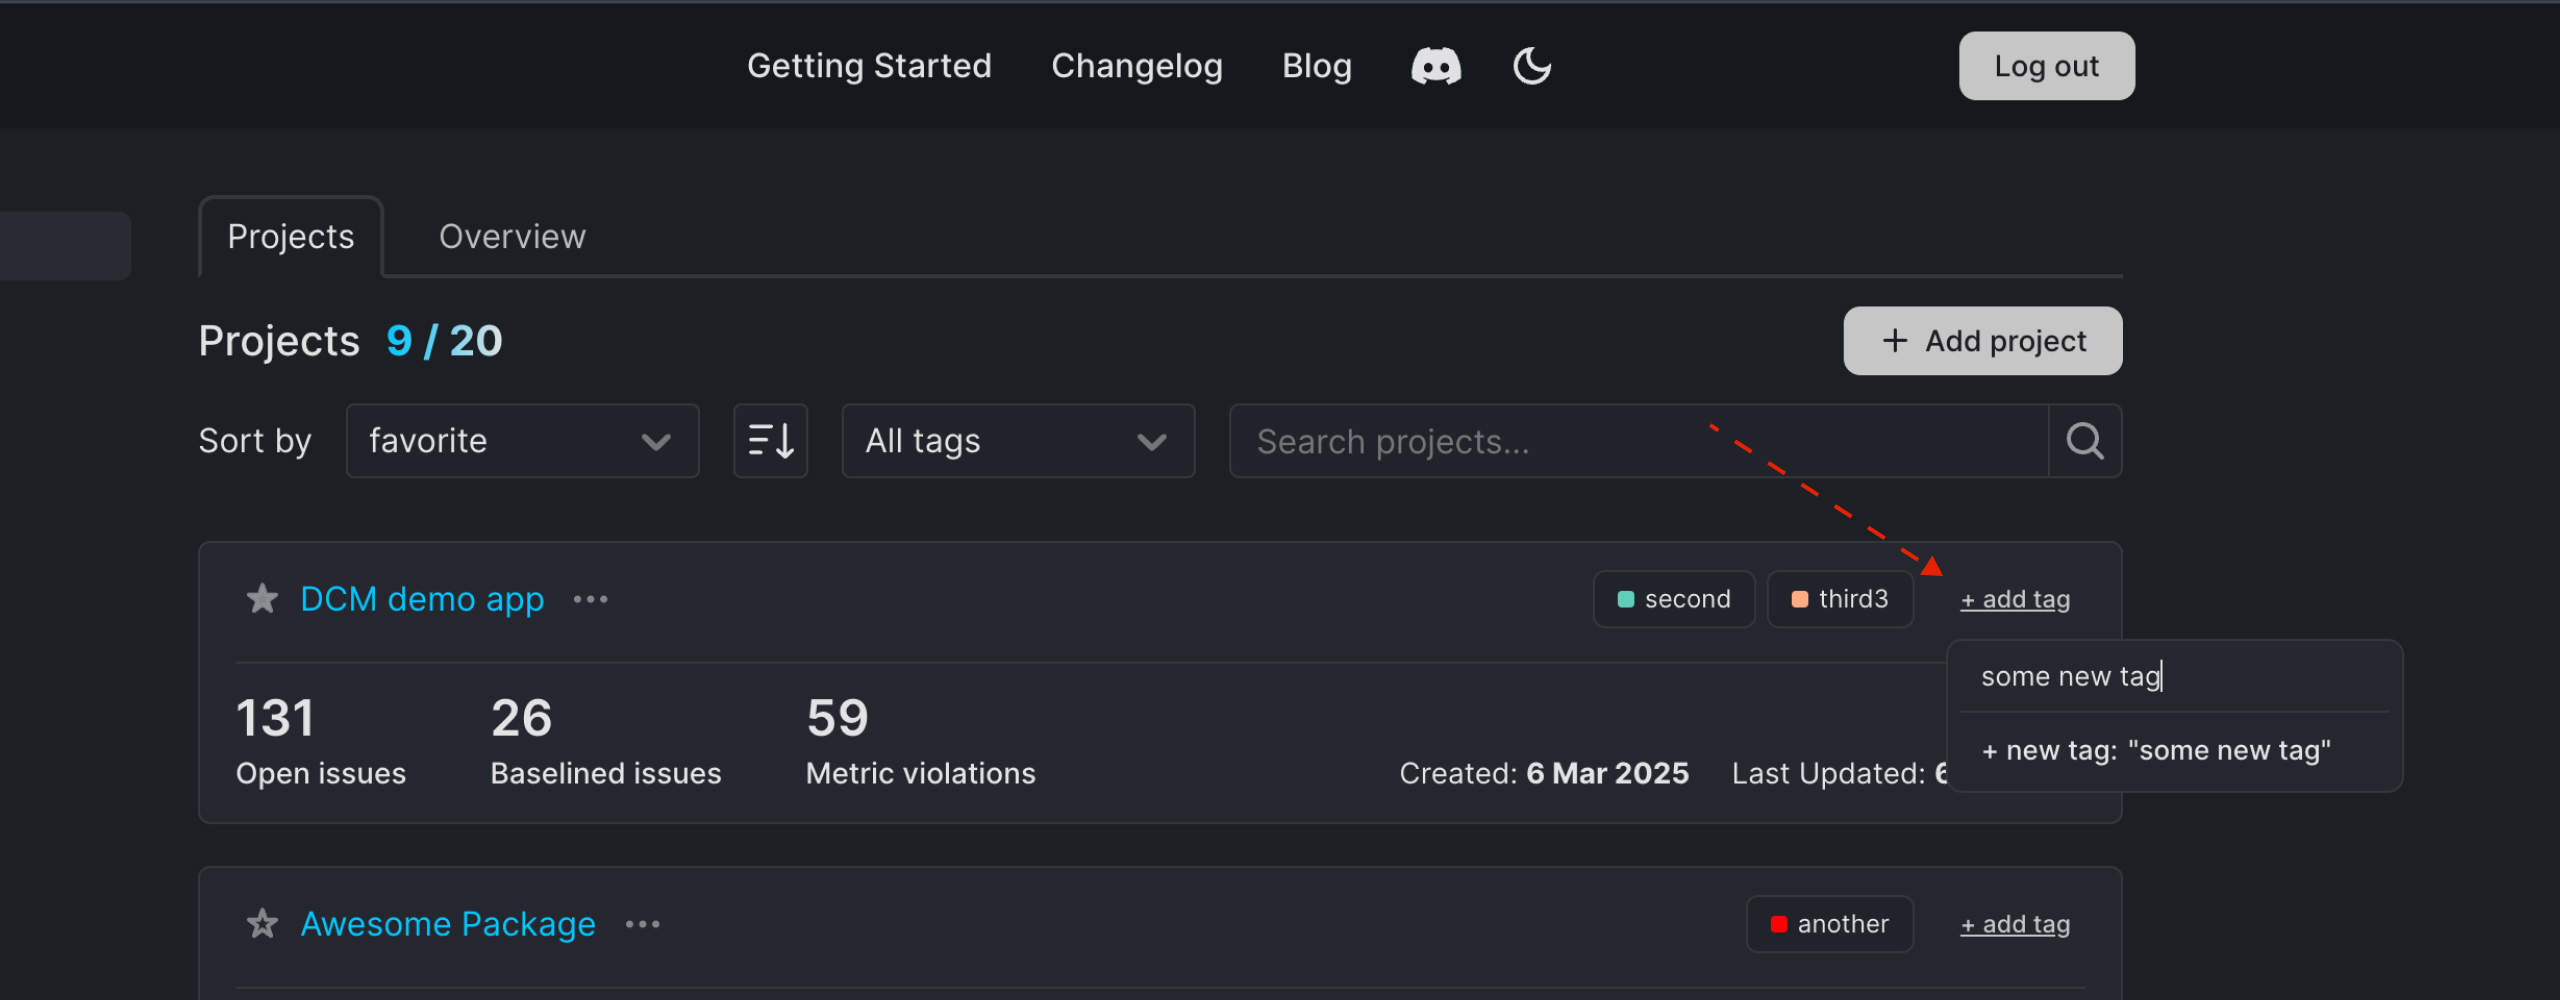
Tags: Use tags to group projects and quickly access each group.
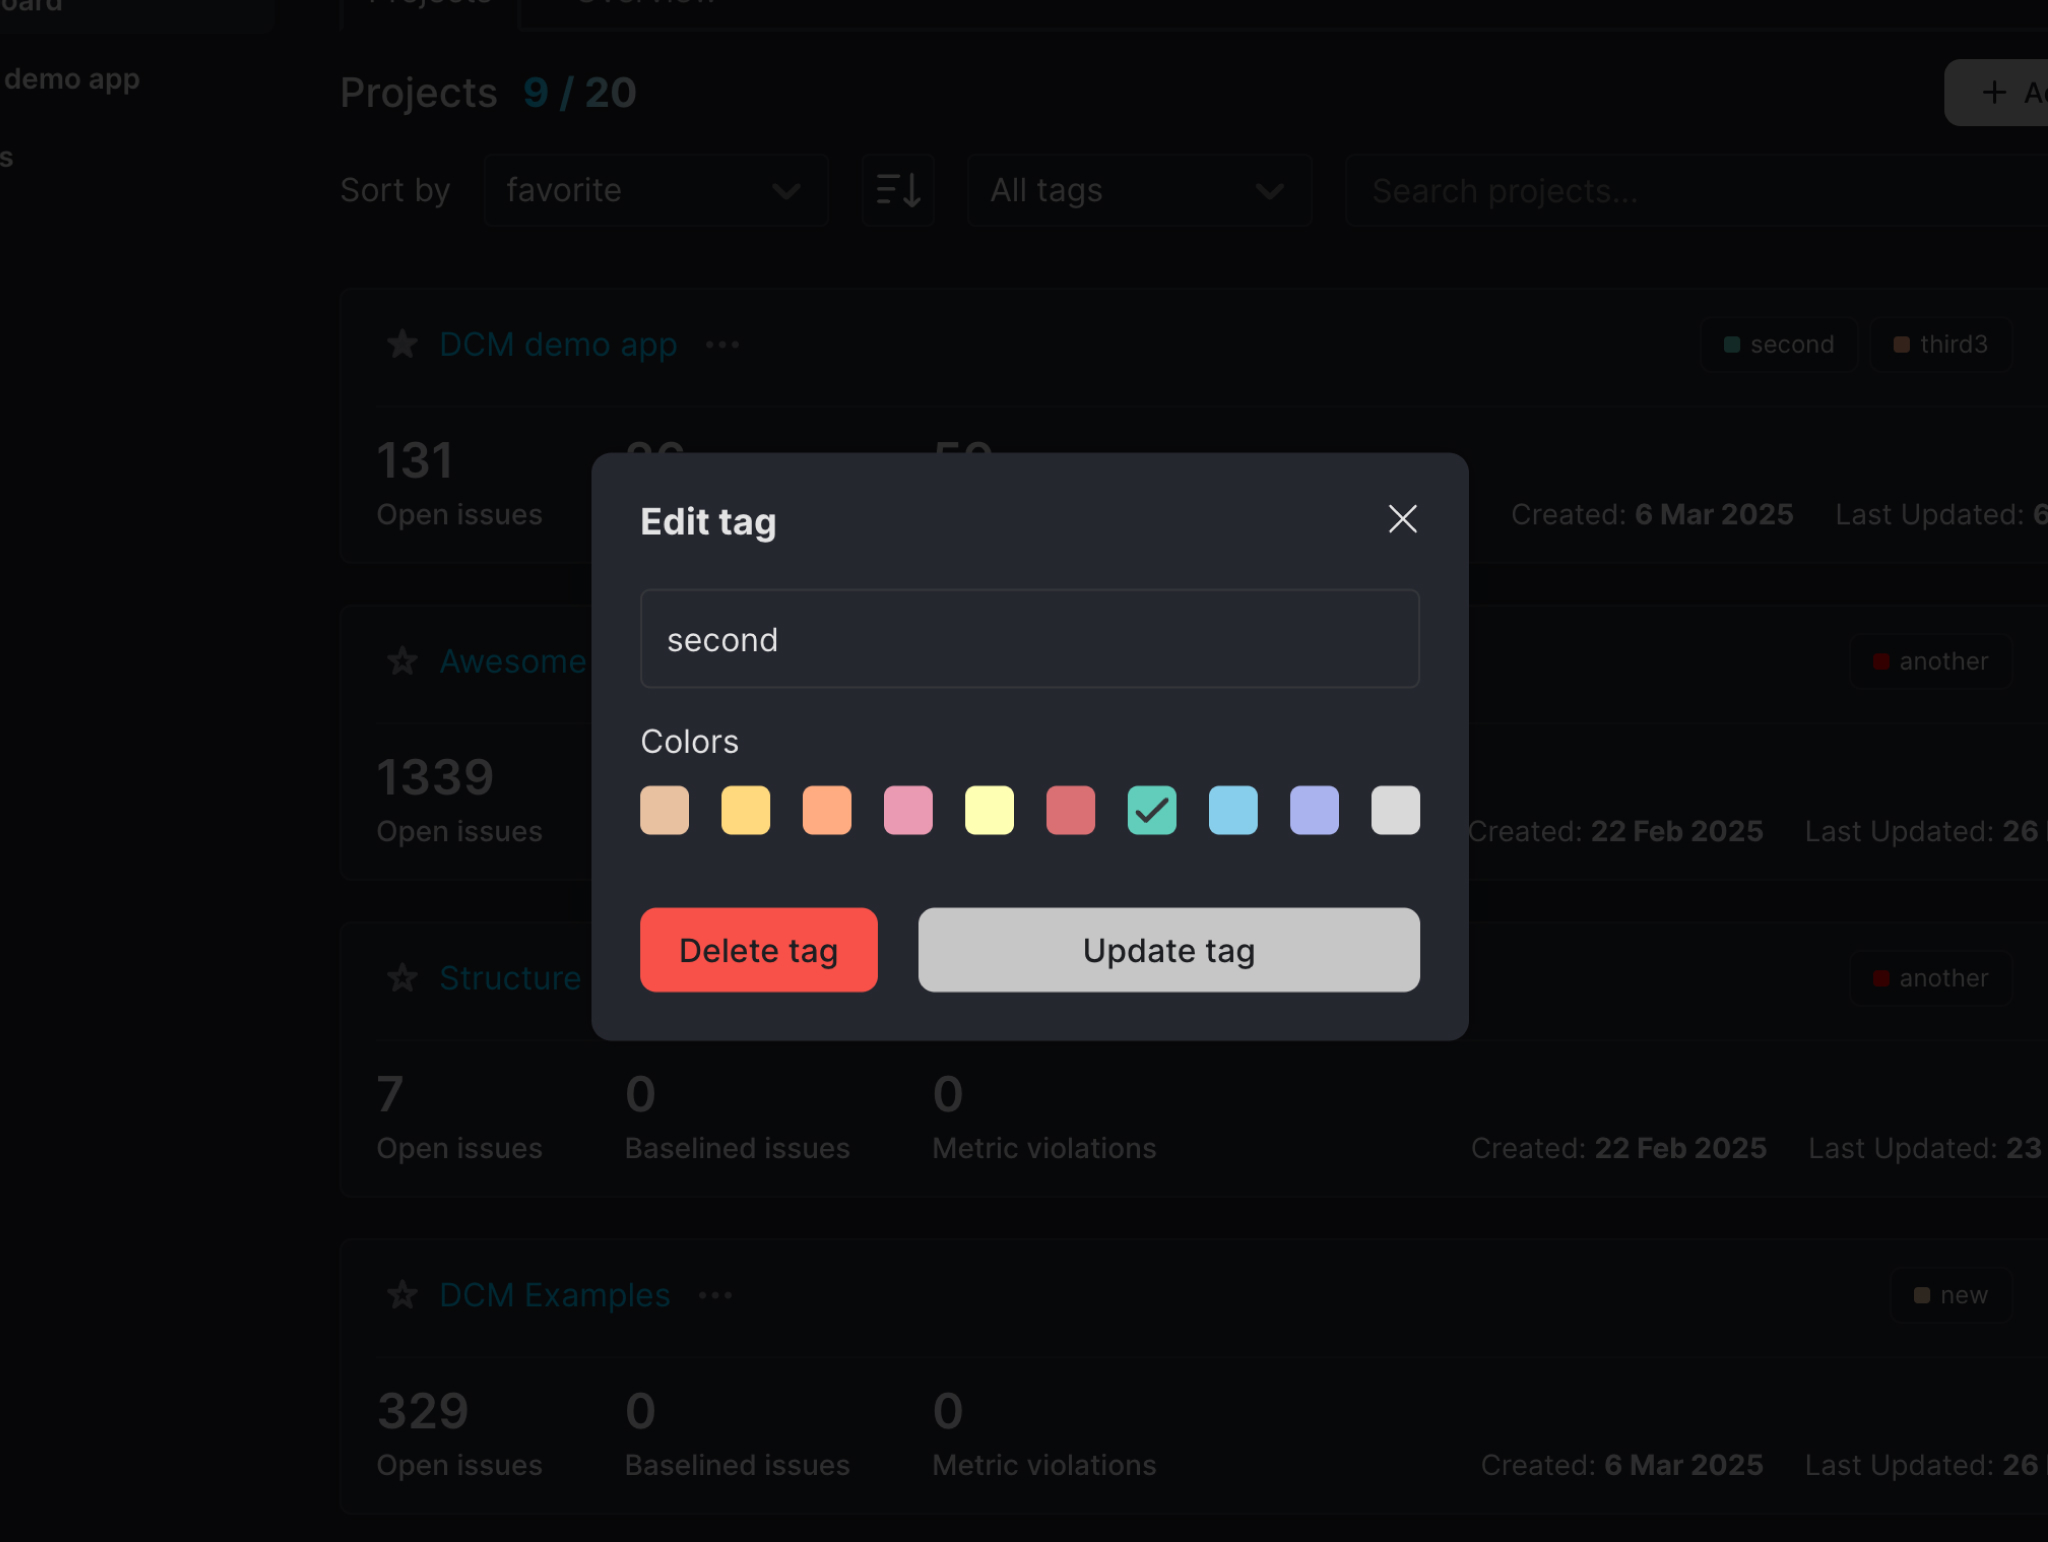
Adding and Editing Tags
To add a tag, enter its name into when adding tags to a project:
To edit a tag, click on the triple-dot menu in the tag list:
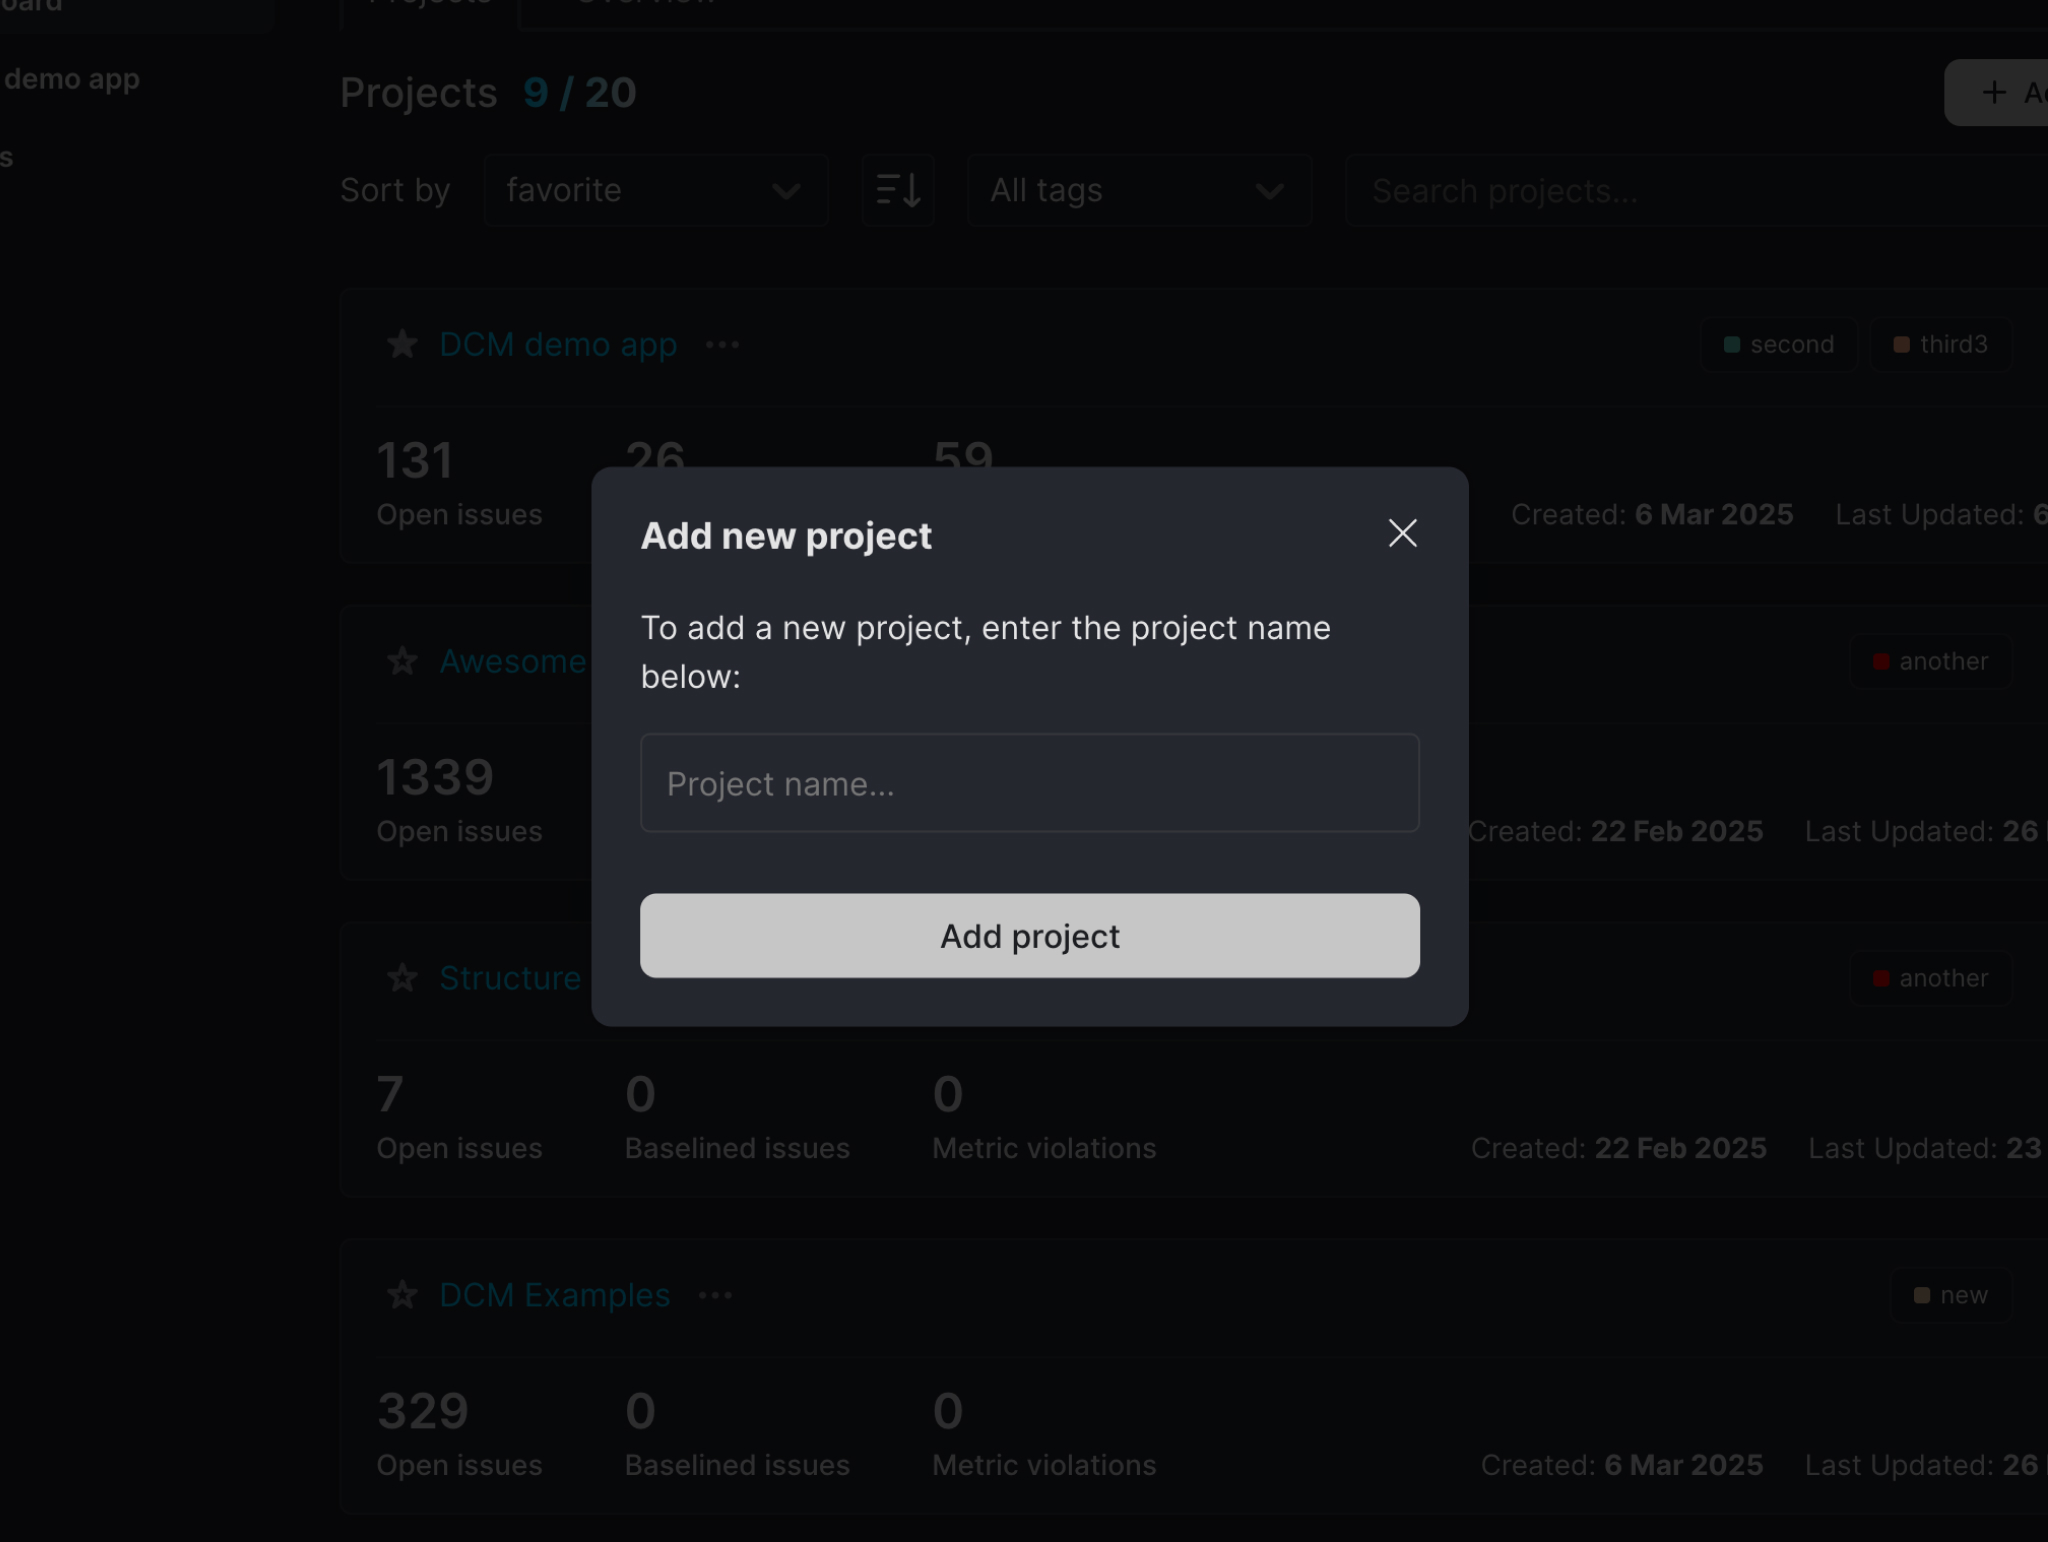
Adding a New Project
To create a new project:
- Click the
+ Add projectbutton. - Enter a project name.
- Click Add project.
The new project will appear immediately in the list.

Quickly Accessing a Project
You can star a project to mark it as a favorite. This is useful for highlighting high-priority or actively developed codebases.
To favorite a project:
- Hover over the project row.
- Click the star icon to toggle favorite status.
Favorite projects will appear in the sidebar under Dashboard for quick access.

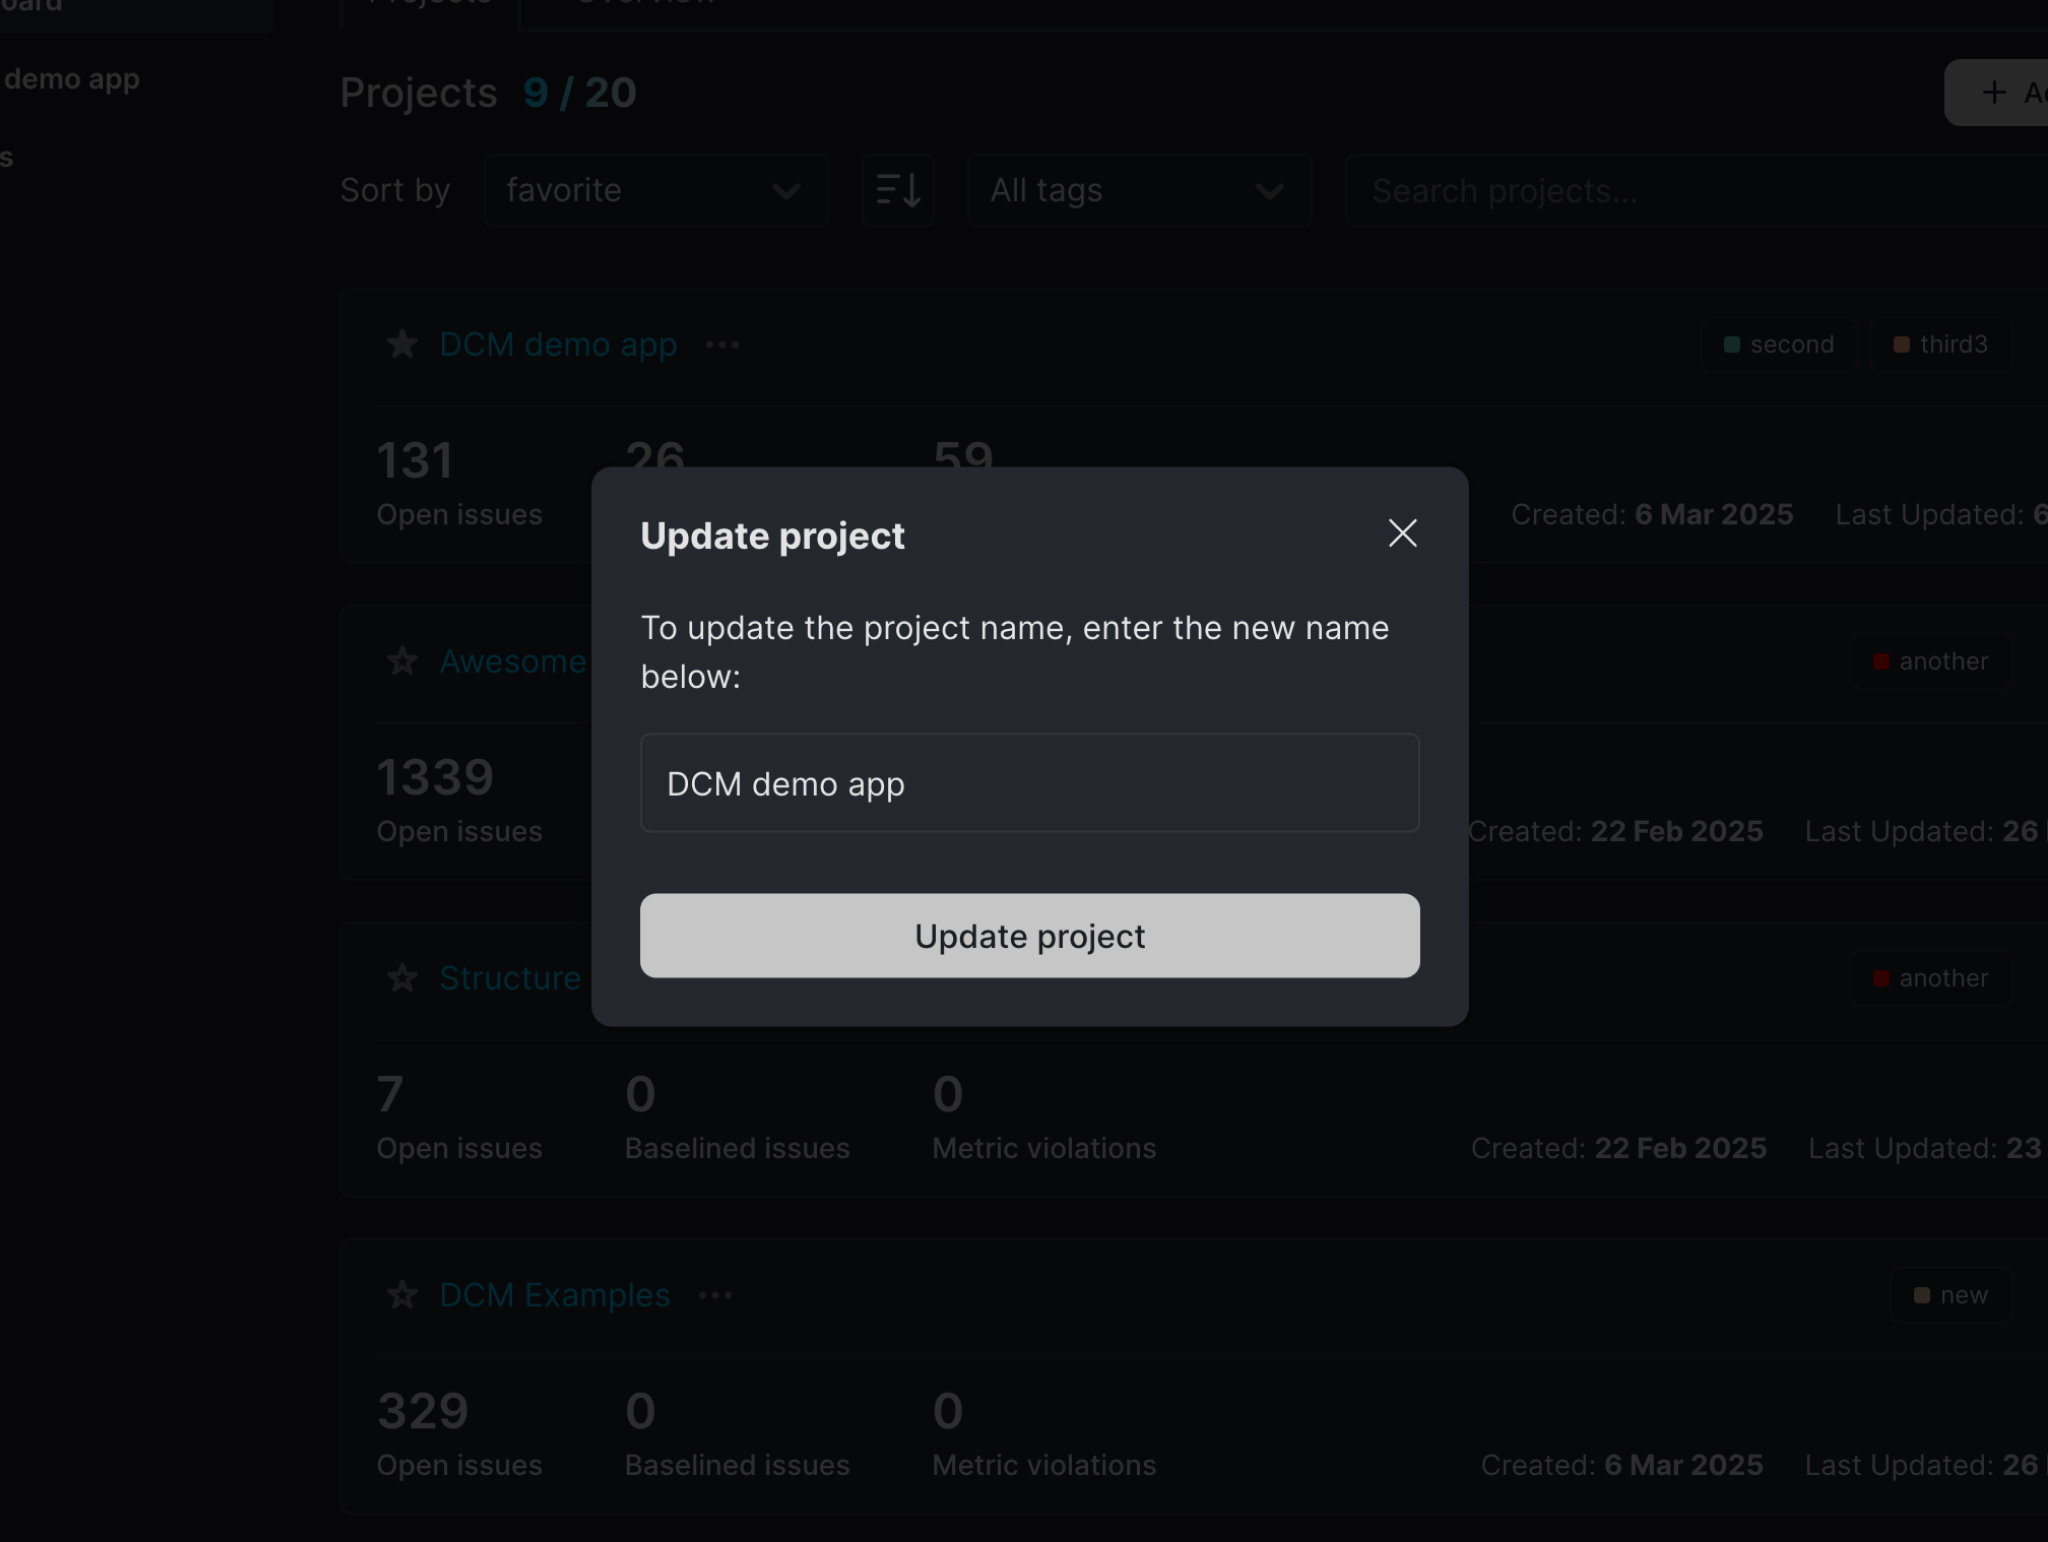
Renaming a Project
To rename a project:
- Hover over the project row.
- Click the pencil icon to rename.
- Enter the new name.
- Click "Update project".
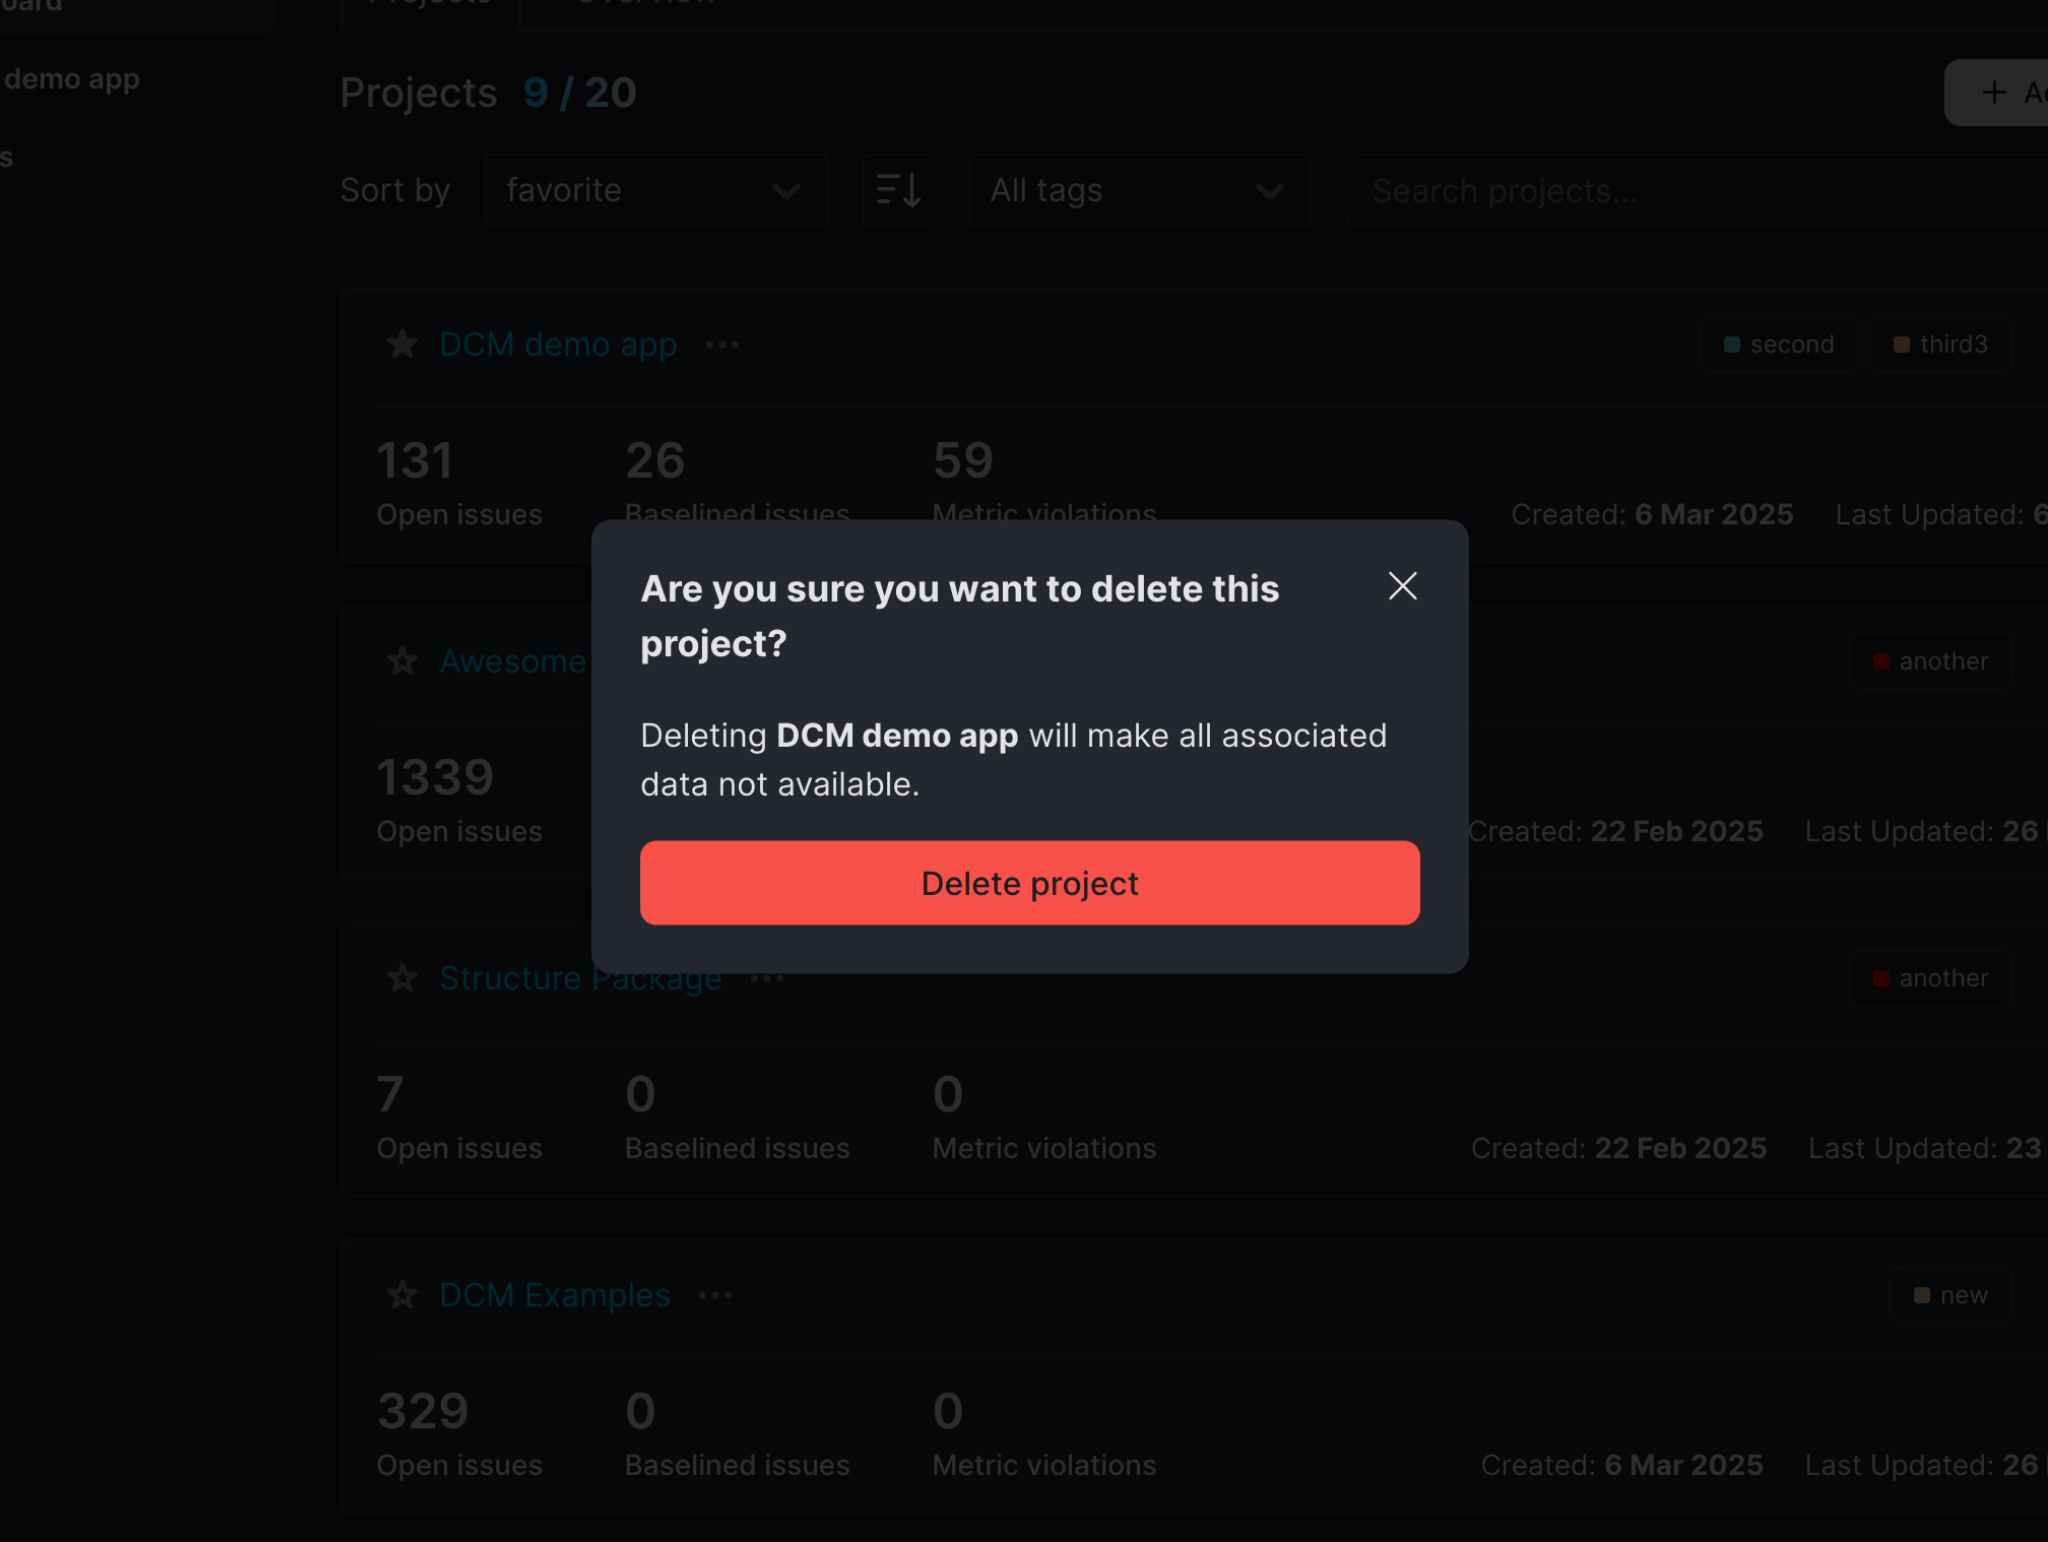
Deleting a Project
To delete a project:
- Hover over the project row.
- Click the trash icon to delete.
- Confirm deleting in the opening modal.
Deleting a project will remove all associated dashboard data. This action cannot be undone.