Teams+

Step 7: Admin Dashboard

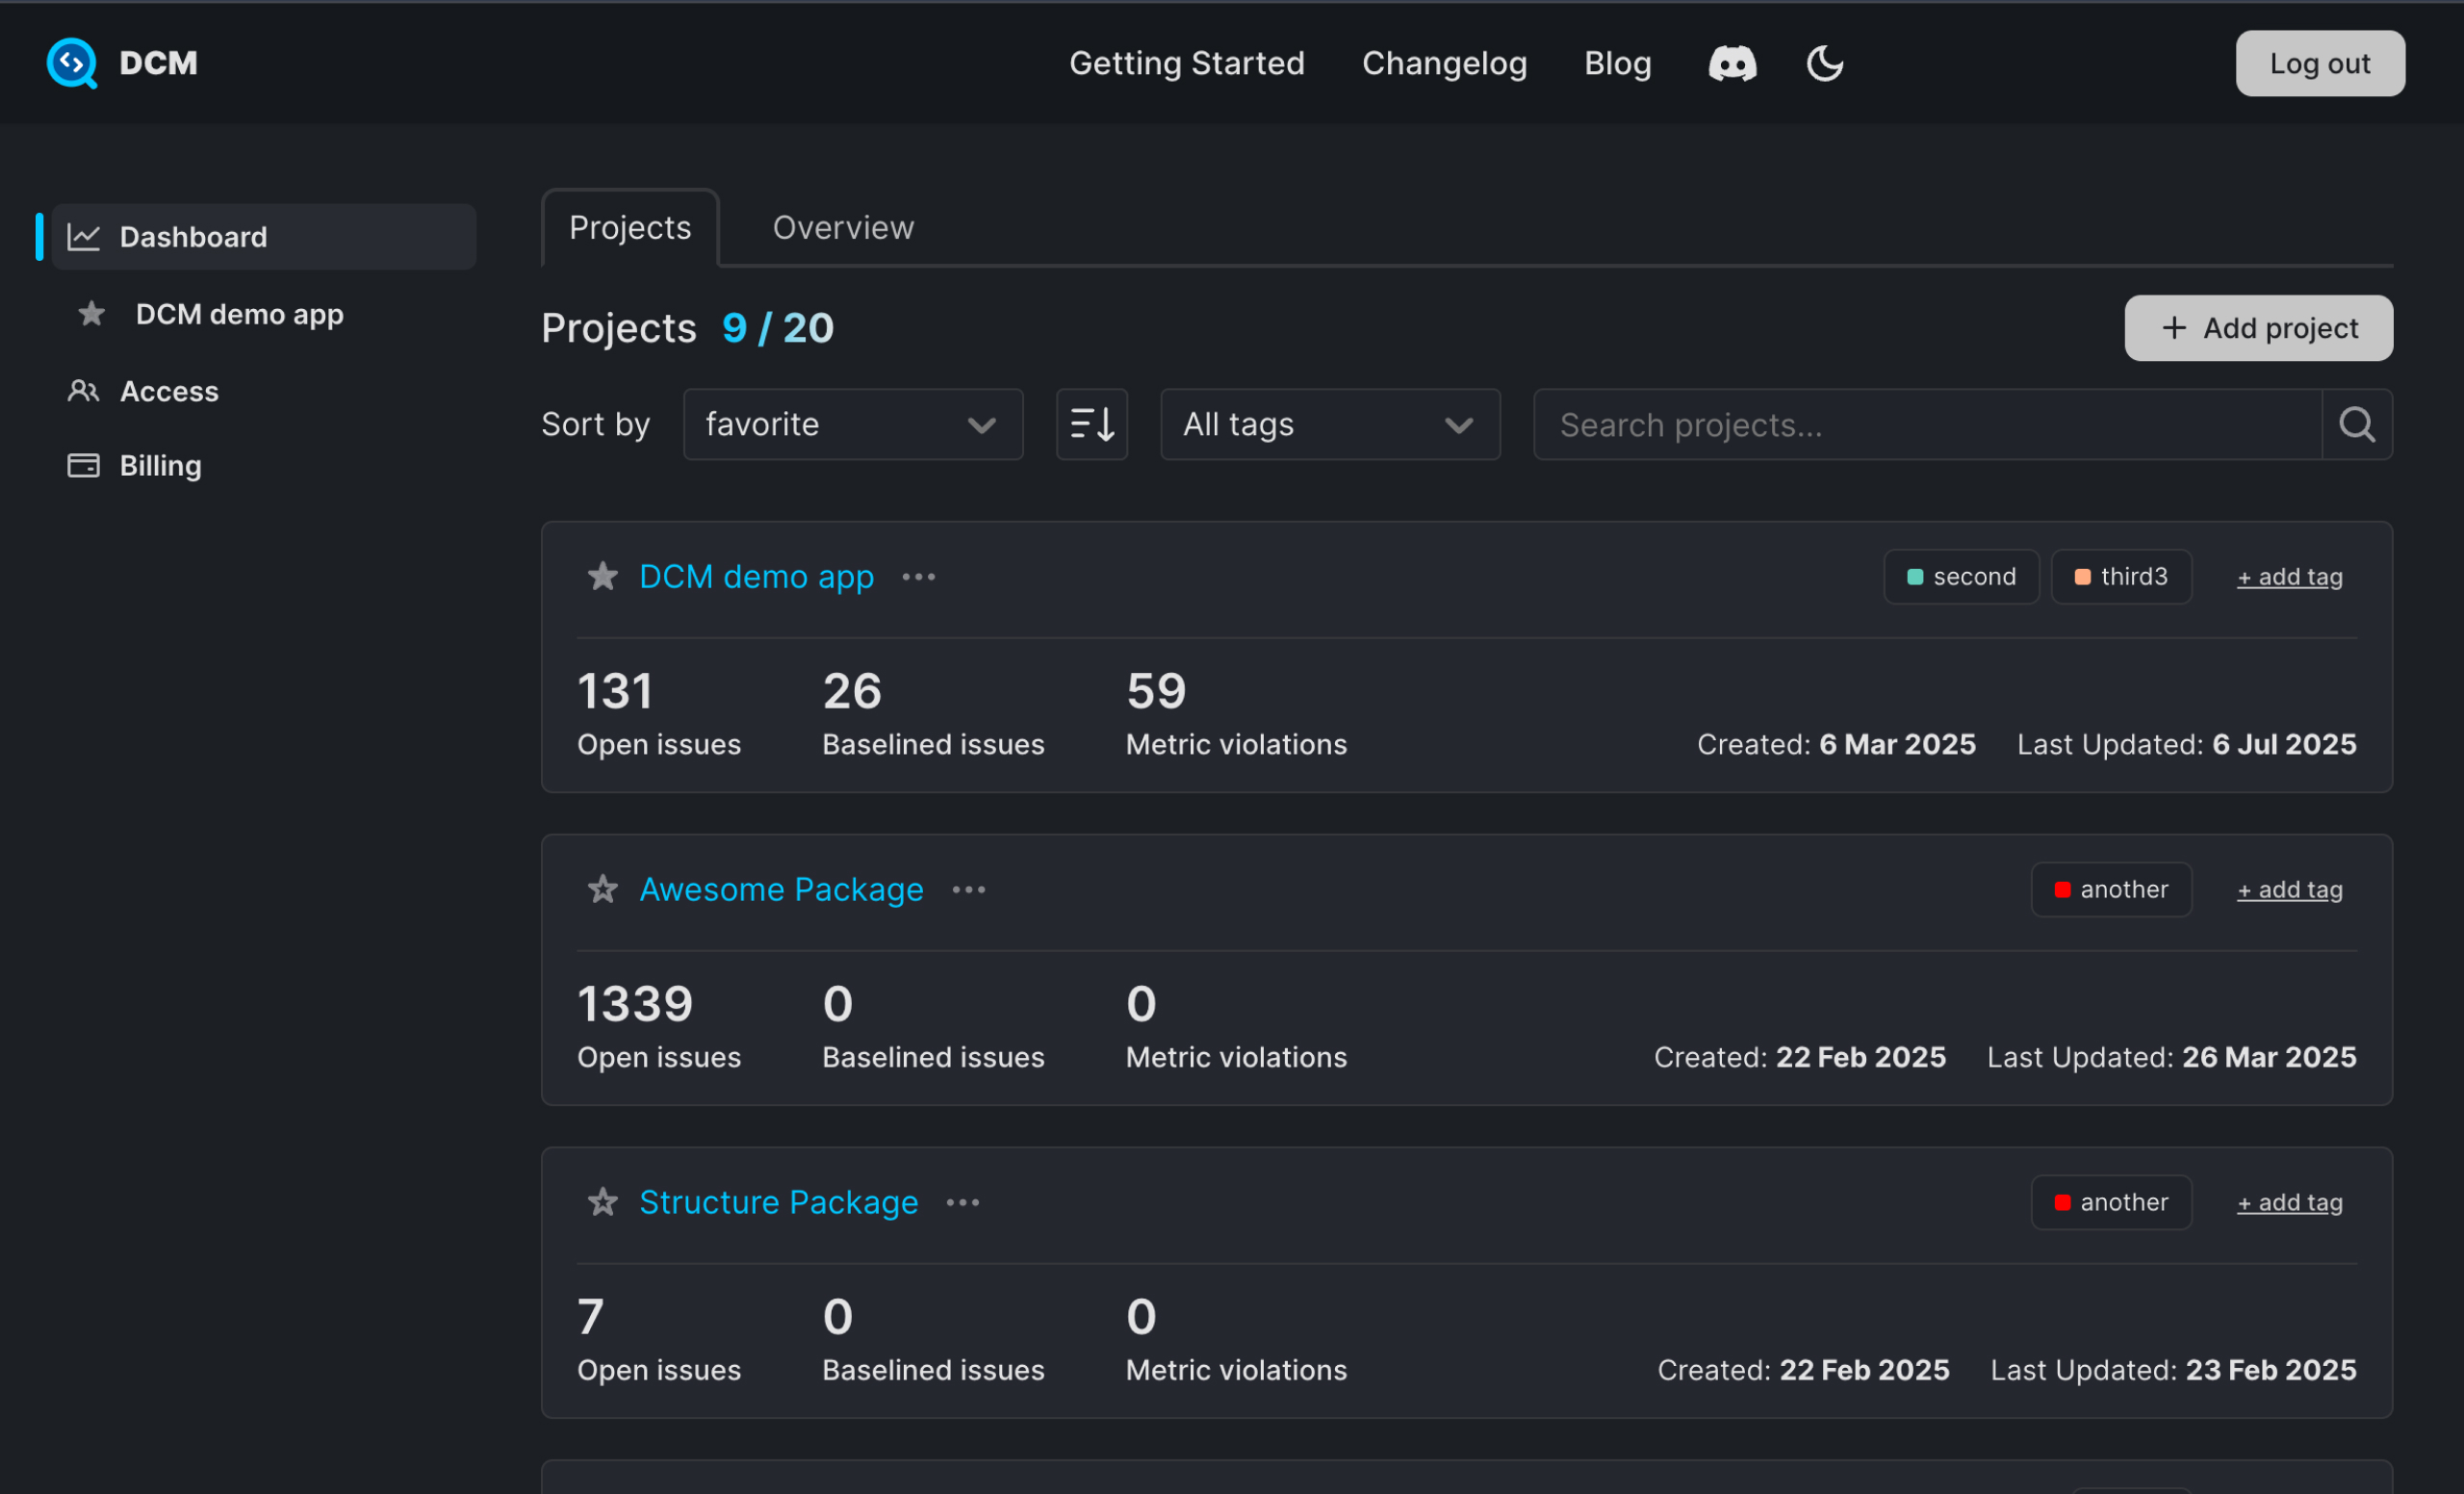
DCM Teams Console helps you manage active seats, access and license keys.

info

DCM Teams Console is available to Teams and Enterprise users only.

1. Login​

To access the DCM Admin Dashboard, you need to log in with your credentials.

Login

2. Access Management​

In the Access section, you can manage developer access to your DCM account.

Add Developers​

To add a new developer:

  1. Navigate to the Access section.
  2. Click on the "Add developer" button.
  3. Enter the developer's email in the provided field.
  4. Click "Add developer".

The developer will receive an email with a unique activation code. Once they activate their device, their information will appear next to their email.

Add Developer

Invite Developer

Revoke Access​

Revoking access will disable DCM on all devices associated with the activation code for the specified email, making the code unavailable for new activations. You can re-add this email later if needed.

To revoke a developer's access:

  1. Navigate to the Access section.
  2. Find the developer you want to remove.
  3. Click "Revoke access" next to their email.
  4. Confirm revoke access in the opening modal.

Invite Developer

Deactivate Device​

Deactivating a device will make DCM unavailable only on the specified device. The activation code for the user’s email will remain valid and can still be used to activate DCM on other devices.

To deactivate a developer's access:

  1. Navigate to the Access section.
  2. Find the developer you want to remove.
  3. Click "Deactivate device" next to the device (e.g., "macos").
  4. Confirm deactivation in the opening modal.

Invite Developer

Resend Invitation​

If a developer did not receive the invitation email, you can resend it:

  1. Navigate to the Access section.
  2. Find the developer you want to resend the invitation to.
  3. Click "Resend invitation" next to their email.

Revoke and Resend Access

3. CI License Keys​

In the License Keys section, you can manage your CI/CD keys.

  1. Navigate to the License Keys section.
  2. Click "Show" to reveal the key.
  3. Click "Copy" to copy the key to your clipboard.

License Keys

3.1 Generate New CI License Key​

To reset the CI/CD key, click on the "Generate new key" button

License Keys

then, in the opening modal, make sure your email is correct and hit the generate button.

License Keys

4. Billing​

In the Billing section, you can view and manage your billing information.

  • Billing Summary: This shows your current monthly (or annual) bill, next billing date, and billing email.
  • Current Plan: Displays your current plan and the number of seats.
  • Add Seats: Add extra seats as you need.
  • Manage Billing: Click to manage billing details (not available for invoice payments).

Manage Billing​

If you have access, you can manage billing by clicking the "Manage billing" button, which will redirect you to the billing management page.

Manage Billing

Add Seats​

To add extra seats to your license, navigate to the billing page, click the "Add seats" button.

Add Seats

Then, select the number of seats. Submitting this form will automatically update your subscription and add the new seats to your license.

Add Seats Modal