DCM MCP Server
DCM MCP Server is available only for DCM 1.31.0+.
The DCM MCP server for Flutter and Dart works with any MCP client that supports stdio as the transport medium. To access all the features of the DCM MCP server, a client must support Tools and Roots capabilities.
If you are using a client that claims it supports roots but doesn't actually set them, pass --force-roots-fallback to enable tools for managing the roots.
Here is an overview of a few things the MCP server can do:
- Analyze and fix errors in your project's code.
- Apply fixes for unused code, unused files and dependency issues
- Format code.
- Generate a baseline.
- Generate a preview for lint rules and metrics.
- Calculate metrics.
- Run code quality checks (detection of unused code, unused files, parameter issues, etc.).
- Analyze your Flutter widgets and image assets.
Set up your MCP client
To start the DCM MCP server, configure your preferred client to run dcm start-mcp-server.
GitHub Copilot in VS Code
By default, the DCM extension uses the VS Code MCP API to register the DCM MCP server.
Explicitly enable or disable the DCM MCP server by configuring the dcm.enableMcpServer setting in your VS Code settings.
To change this globally, update your user settings:
- In VS Code, click
View>Command Paletteand then search forPreferences: Open User Settings (JSON). - Add
"dcm.enableMcpServer": true.
If you'd like this setting to apply only to a specific workspace, add the entry to your workspace settings:
- In VS Code, click
View>Command Paletteand then search forPreferences: Open Workspace Settings (JSON). - Add
"dcm.enableMcpServer": true.
For more information, see the official VS Code documentation for enabling MCP support.
GitHub Copilot CLI
GitHub Copilot CLI supports MCP servers for extending its capabilities. To add the DCM MCP server, use the /mcp add slash command in an interactive session:
- Start a Copilot CLI session:
copilot - Enter
/mcp add - Fill in the details:
- Name:
dcm - Command:
dcm - Args:
start-mcp-server --force-roots-fallback --client=copilot-cli
- Name:
- Press
Ctrl + Sto save.
Alternatively, you can manually edit the ~/.copilot/mcp-config.json file:
{
  "servers": {
    "dcm": {
      "command": "dcm",
      "args": [
        "start-mcp-server",
        "--force-roots-fallback",
        "--client=copilot-cli"
      ],
      "type": "stdio"
    }
  }
}
Once configured, you can verify the server is connected by entering /mcp in an interactive session.
For more information, see the official GitHub documentation for adding MCP servers to Copilot CLI.
Cursor
To quickly configure the DCM MCP Server, click this button:
Alternatively, you can configure the server manually:
- Go to
Cursor>Settings>Cursor Settings>Tools & Integrations. - Click
Add Custom MCPorNew MCP Serverdepending on whether you already have other MCP servers configured. - Edit the
.cursor/mcp.jsonfile in your local project (configuration will only apply to this project) or edit the global~/.cursor/mcp.jsonfile in your home directory (configuration will apply for all projects) to configure the DCM MCP server:
{
  "mcpServers": {
    "dcm": {
      "command": "dcm",
      "args": ["start-mcp-server", "--force-roots-fallback", "--client=cursor"]
    }
  }
}
For more information, see the official Cursor documentation for installing MCP servers.
Codex
The DCM MCP server works seamlessly with OpenAI Codex.
Using the CLI
If you have the Codex CLI installed, you can add the DCM MCP server using the following command:
codex mcp add dcm -- dcm start-mcp-server --force-roots-fallback --client=codex
So the result should be like:
Added global MCP server 'dcm'.
Using config.toml
Alternatively, you can manually edit the ~/.codex/config.toml configuration file:
[mcp_servers.dcm]
command = "dcm"
args = ["start-mcp-server", "--force-roots-fallback", "--client=codex"]
If you're using the Codex IDE extension, you can find the config file by clicking the gear icon in the top right corner of the extension and then clicking MCP settings > Open config.toml.
Once configured, Codex can leverage all DCM MCP server capabilities including code analysis, auto-fixes, metrics calculation, and code quality checks.
For more information, see the official Codex documentation for Model Context Protocol.
Windsurf
New MCP plugins can be added manually by editing the mcp_config.json file:
- Navigate to
~/.codeium/windsurf/mcp_config.jsonin your home directory. - Add the DCM MCP server configuration:
{
  "mcpServers": {
    "dcm": {
      "command": "dcm",
      "args": [
        "start-mcp-server",
        "--force-roots-fallback",
        "--client=windsurf"
      ]
    }
  }
}
- Make sure to press the refresh button in the Windsurf Plugins panel after you add the DCM MCP plugin.
For more information, see the official Windsurf documentation for adding MCP plugins.
IntelliJ
- Go to
Settings|Tools|AI Assistant|Model Context Protocol (MCP). - Click
+ Add. - In the
New MCP Serverdialog, provide a JSON configuration:
{
  "mcpServers": {
    "dcm": {
      "command": "dcm",
      "args": ["start-mcp-server", "--client=intellij"]
    }
  }
}
For more information, see the official IntelliJ documentation for installing MCP servers.
Android Studio
Gemini in Android Studio's agent can interact with external tools using the Model Context Protocol (MCP).
To add an MCP server, create a mcp.json file and place it in the configuration directory of Studio. The mcp.json file should follow this format:
{
  "mcpServers": {
    "dcm": {
      "command": "dcm",
      "args": ["start-mcp-server", "--client=as"]
    }
  }
}
For more information, see the official Android Studio documentation for installing MCP servers.
Gemini CLI
To configure the Gemini CLI to use the DCM MCP server, add a dcm entry to the mcpServers section of the Gemini config.
- To enable server for all projects on your device, edit the
~/.gemini/settings.jsonfile in your home directory. - To enable the server for a specific project, edit the
.gemini/settings.jsonfile in the project's root directory.
{
  "mcpServers": {
    "dcm": {
      "command": "dcm",
      "args": ["start-mcp-server", "--client=gemini"]
    }
  }
}
Zed
Zed supports MCP servers as custom servers via configuration in settings.json. Add the DCM MCP server to your Zed settings:
{
  "context_servers": {
    "dcm": {
      "command": "dcm",
      "args": ["start-mcp-server", "--client=zed"]
    }
  }
}
Alternatively, you can add it via the Agent Panel:
- Open the Agent Panel (bottom right of Zed)
- Click the settings icon (gear) in the top-right
- Click "Add Custom Server"
- Enter the command:
dcm start-mcp-server --client=zed
Verifying the Server
Once configured, check the Agent Panel's settings view—a green dot indicator next to "dcm" means the server is active and ready to use.
For more information, see the official Zed documentation for installing MCP servers.
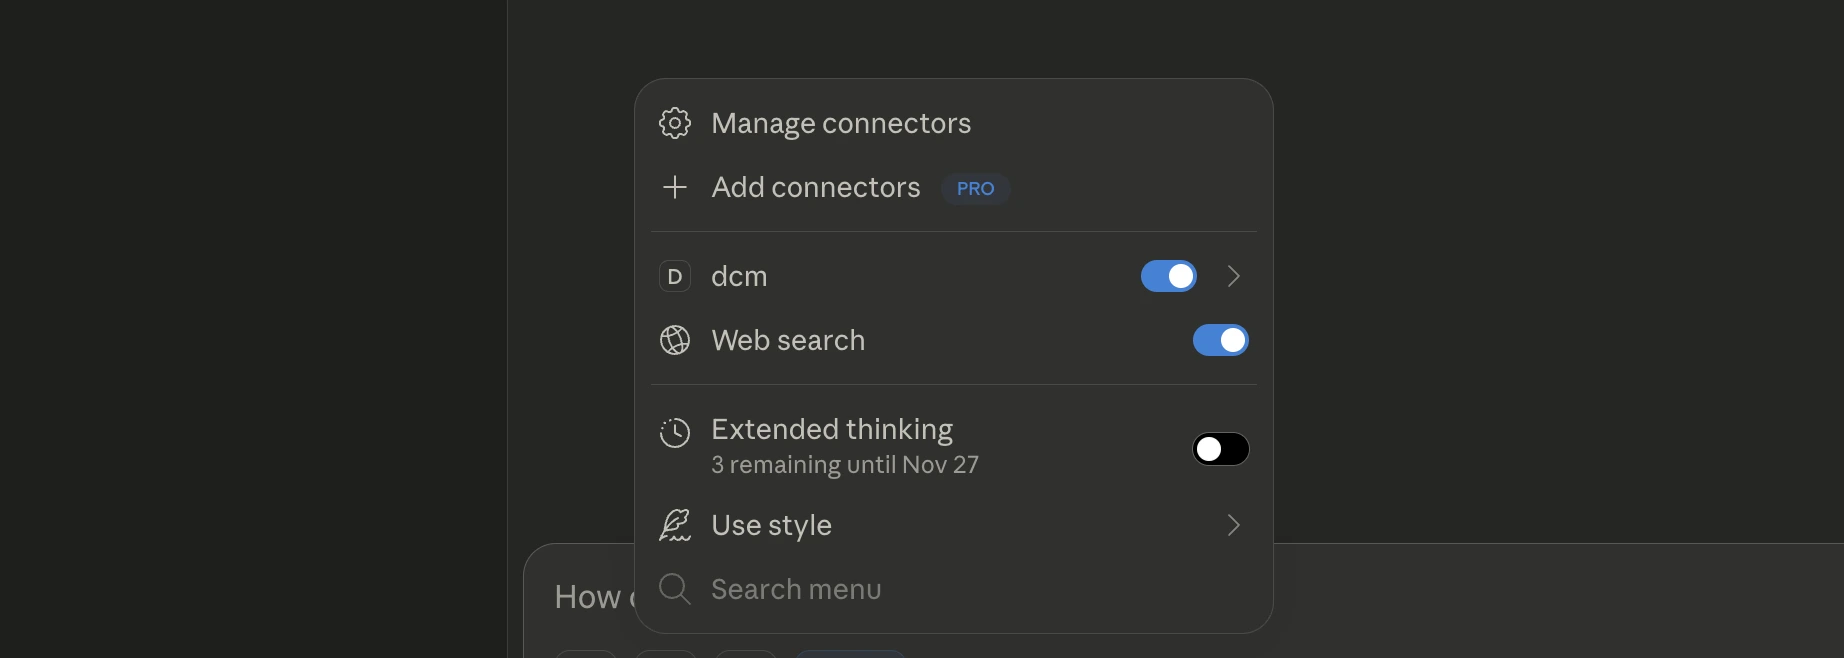
Claude Code
Claude Code is Anthropic's AI-powered code editor that natively supports MCP servers. You can connect the DCM MCP server using the Claude CLI.
Installation
Add the DCM MCP server using the Claude CLI:
claude mcp add --transport stdio dcm -- dcm start-mcp-server --client=claude-code
If you encounter connection issues with project roots, add --force-roots-fallback:
claude mcp add --transport stdio dcm -- dcm start-mcp-server --force-roots-fallback --client=claude-code
You should see:
> claude mcp add --transport stdio dcm -- dcm start-mcp-server --client=claude-code

Added stdio MCP server dcm with command: dcm start-mcp-server --client=claude-code to local config

File modified: /Users/name/.claude.json [project: /Users/user/Projects/flutter_project]
Configuration
You can configure the server at different scopes:
-
Local scope (default): Personal configuration for the current project.
claude mcp add --transport stdio dcm --scope local -- dcm start-mcp-server --client=claude-code -
Project scope: Shared with your team via
.mcp.jsonin the project root.claude mcp add --transport stdio dcm --scope project -- dcm start-mcp-server --client=claude-code -
User scope: Available across all projects on your machine.
claude mcp add --transport stdio dcm --scope user -- dcm start-mcp-server --client=claude-code
Managing the Server
# List all configured servers
claude mcp list

# Get details for the DCM server
claude mcp get dcm

# Remove the DCM server
claude mcp remove dcm

# Check server status within Claude Code
/mcp
You should see the result as:
> claude mcp list
Checking MCP server health...

dcm: dcm start-mcp-server --client=claude-code - ✓ Connected
For more information, see the official Claude Code documentation for connecting to MCP servers.
Claude Desktop
Claude Desktop is Anthropic's desktop application that supports MCP servers through manual configuration.
Setup
Configure the DCM MCP server by editing the Claude Desktop configuration file:
- macOS/Linux:
~/.claude/claude_desktop_config.json - Windows:
%APPDATA%\Claude\claude_desktop_config.json
Add the following configuration:
{
  "mcpServers": {
    "dcm": {
      "command": "dcm",
      "args": ["start-mcp-server", "--client=claude-desktop"]
    }
  }
}
If you encounter connection issues, add --force-roots-fallback:
{
  "mcpServers": {
    "dcm": {
      "command": "dcm",
      "args": [
        "start-mcp-server",
        "--force-roots-fallback",
        "--client=claude-desktop"
      ]
    }
  }
}
After editing the configuration file, restart Claude Desktop for changes to take effect.
For more information, see the official Claude documentation for configuring MCP servers.